
 A brief becomes a real page.
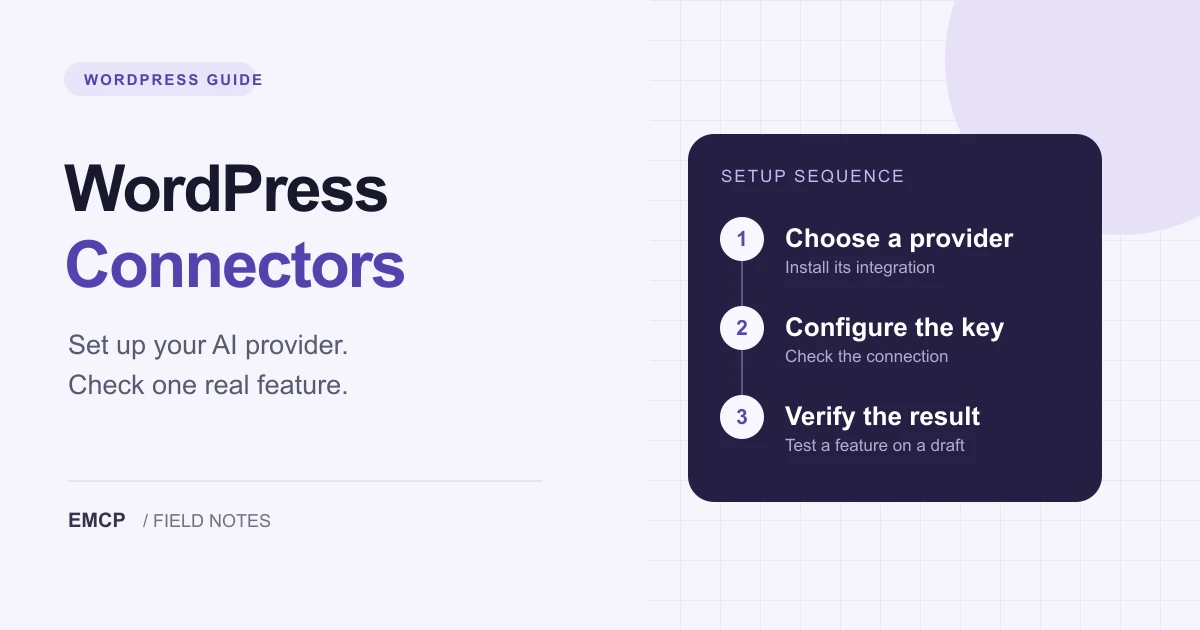
WordPress Connectors lets you configure an AI provider under Settings → Connectors so compatible WordPress plugins can use it. Choose Anthropic, Google or OpenAI, install the provider integration, add its API key, then verify the feature you actually want to use. A saved connection is only one part of that setup.
This walkthrough covers the Connectors screen introduced in WordPress 7.0. It is for AI features running inside WordPress. If your goal is to ask Cursor or Claude to inspect an existing site, start with the WordPress MCP guide and the appropriate client connection instructions.
Verification note — 5 November 2026: We checked current WordPress documentation, official provider listings, and the relevant source in a local WordPress 7.1.4 installation. The screenshots below are genuine WordPress.org documentation captures, credited in their captions. We did not complete a live API-key connection or a billable generation test for this article; the final feature check is an exercise to run on your own practice site.
Understand the three parts before installing anything
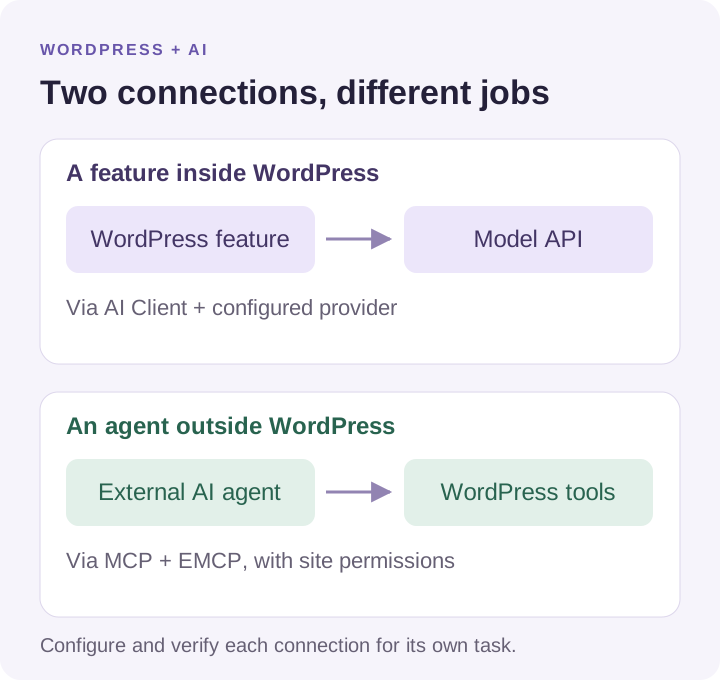
The Connectors screen manages the connection. The provider plugin supplies the implementation for a particular service. A compatible feature plugin uses that service to perform a task, such as suggesting a title. This separation lets a site reuse a provider configuration across compatible features. Plugins that use their own AI settings may still require separate configuration. Learn WordPress explains the relationship.
The WordPress.org AI plugin is one such feature plugin, not a requirement for every custom integration using the AI Client. Its features and experiments are opt-in. Review each option before enabling it: some experiments run automatically, so testing a manual button does not establish the behavior or usage cost of all enabled features. AI plugin details.
1. Open the correct settings screen
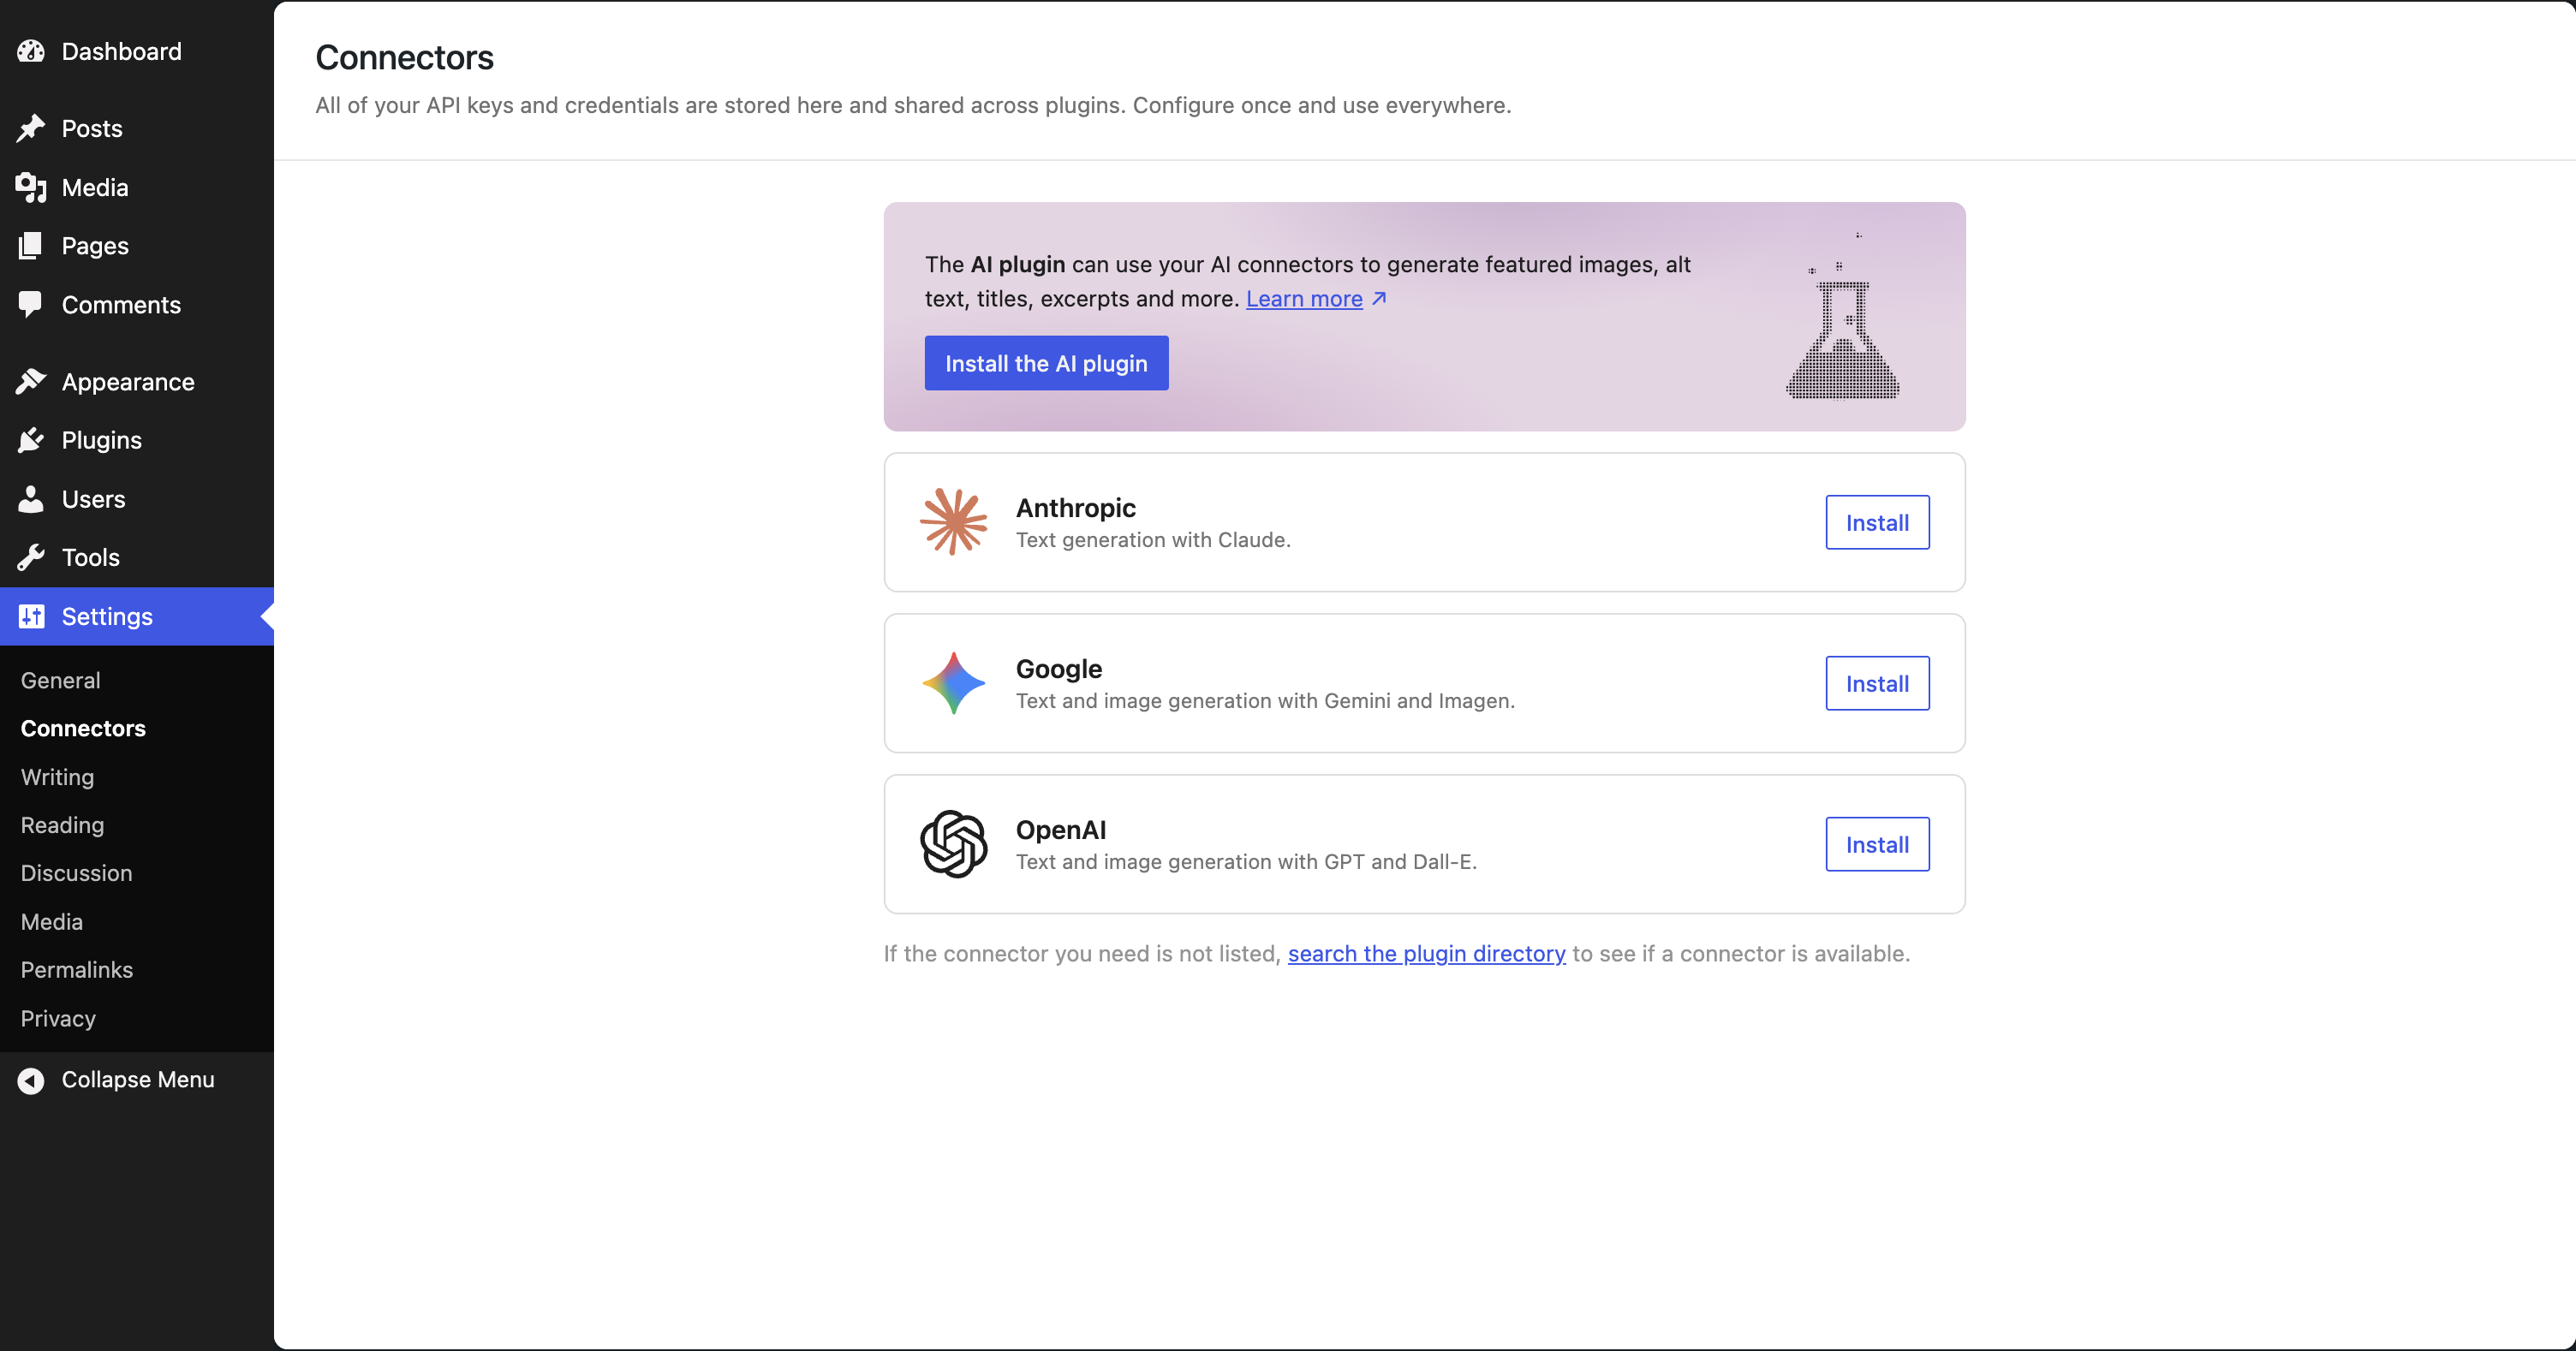
Use a local or staging site for the first setup. Confirm its WordPress version, sign in with permission to manage site settings, and open Settings → Connectors. WordPress’s built-in screen arrived in 7.0; an older installation may depend on a plugin for similar functionality.
The featured provider cards offer the appropriate installation or configuration action for their current state. An invitation to install the AI plugin is a separate choice from installing a provider. WordPress Connectors documentation.
2. Choose one provider and install its integration
Start with the provider that supports your intended feature and an API account you can manage. You do not need to configure all three to test one workflow. Check the provider plugin’s current requirements and the feature plugin’s supported models before installing.
| Provider integration | Official credentials destination | What to check first |
|---|---|---|
| AI Provider for Anthropic | Claude API keys | Whether your intended text feature supports the available Claude models |
| AI Provider for Google | Google AI Studio keys | The Google project, API access, and the models your feature can use |
| AI Provider for OpenAI | OpenAI API keys | The API project, account limits, and model access for the intended feature |
Use the matching Install action on the Connectors card, then confirm that the provider plugin is active. If your hosting setup prevents plugin installation, have the site administrator install it through the site’s usual process. A credential cannot replace a missing provider implementation.
All three official provider listings distinguish WordPress 6.9 support, which needs additional AI Client setup, from WordPress 7.0 and later. Follow the requirements for your actual installation. Avoid installing extra packages merely because an older tutorial lists them.
3. Add the API key to the matching provider
Open the provider’s official credentials page and create or select a key for the intended account or project. Check its usage controls before connecting a site. Keep the full credential out of screenshots, support messages, source control and public page content.
Return to the matching WordPress card, enter the key, and save it. Then inspect the resulting connection state. If the card reports an error, resolve it before enabling features that depend on the provider.
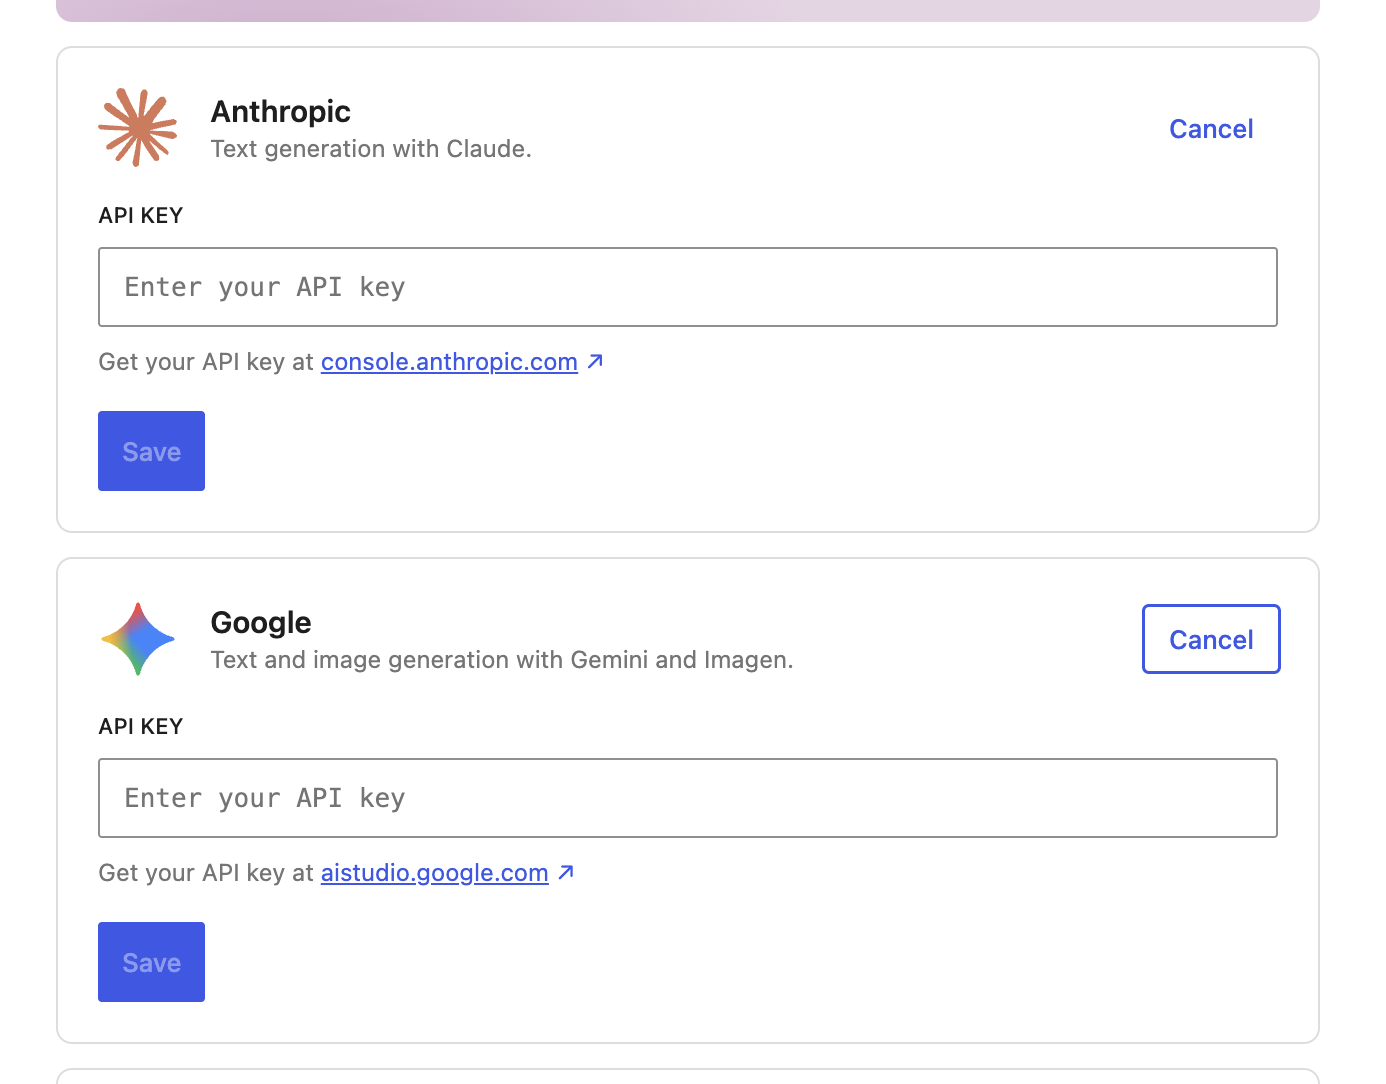
When the key is managed by your host or developer
The credential source matters when troubleshooting. For API-key connectors, WordPress checks the environment first, then a PHP constant, then the database setting. A key entered in the admin screen may therefore be superseded by one supplied through the hosting configuration. The AI provider identifiers correspond to names such as ANTHROPIC_API_KEY, GOOGLE_API_KEY and OPENAI_API_KEY. Connectors API reference.
The same reference documents that database-stored keys are masked in the interface but are not encrypted there. Treat database backups as sensitive. If you use a host-managed credential, change it through the existing secret-management process and check the effective connection afterward. Do not paste a real key into a sample configuration file just to follow a tutorial.
4. Enable one feature and check the result
If you chose the WordPress.org AI plugin, open Settings → AI and enable AI plus one suitable feature or experiment. For a different feature plugin, use its documented settings. Installing a provider alone does not add every possible editor action. The AI plugin listing describes its opt-in controls and which experiments run automatically.
Here is a small acceptance exercise we recommend for a practice site:
- Create a draft containing a short, non-sensitive paragraph you can assess yourself.
- Use one enabled text feature, such as a title suggestion, if your installed version offers it.
- Check that the result is relevant and that the editor shows no provider error.
- Inspect the provider account’s usage record where available. Keep the test time and selected model, never the key, in your notes.
- Review any accepted text, save the draft, reopen it, and confirm that the intended content persisted and the post remains unpublished.
This checks connection, feature behavior and saved content separately. A green status indicator cannot establish all three. Image generation requires its own supported model and test; a successful text request does not prove that image generation works.
Troubleshoot the layer that failed
| Symptom | First checks |
|---|---|
| Connectors is missing | Confirm the WordPress version and account permissions. In the inspected 7.1.4 source, the screen requires manage_options. |
| The card still offers installation | Confirm the matching provider plugin is installed and active. |
| Saving a key fails | Recheck the provider, account/project, key validity and the displayed error. Avoid sharing the credential when requesting support. |
| Changing a key seems to do nothing | Check whether an environment variable or PHP constant takes precedence. |
| The provider connects but no editor feature appears | Check the separate feature plugin, its enablement controls and supported editor context. |
| Text works but another feature fails | Check that feature’s model requirements, account access and request limits. |
| Unexpected usage appears | Review automatic features and other compatible plugins using the shared provider configuration. |
Change one part at a time and repeat the same small test. Record whether a failure happened during credential setup, generation or saving content. That gives a maintainer a reproducible problem instead of a vague “AI is broken” report.
When to use EMCP instead
Use WordPress Connectors when a feature inside WordPress needs to call an AI provider. Use an MCP connection when an external agent needs supported operations on a WordPress site. For example, asking Cursor to read a page’s saved structure is a different task from clicking a title-generation button in the editor.
The same site can use both. Configure each connection for its job, verify the target site and enabled tools, and review changes before release. Read the WordPress MCP Adapter and EMCP comparison for the tool-serving layer, or follow the Cursor setup guide for a concrete client connection.
Ready to try the external-agent workflow? Get EMCP Lite on WordPress.org, connect a supported client, and begin with a read-only inspection of a practice site.