
 A brief becomes a real page.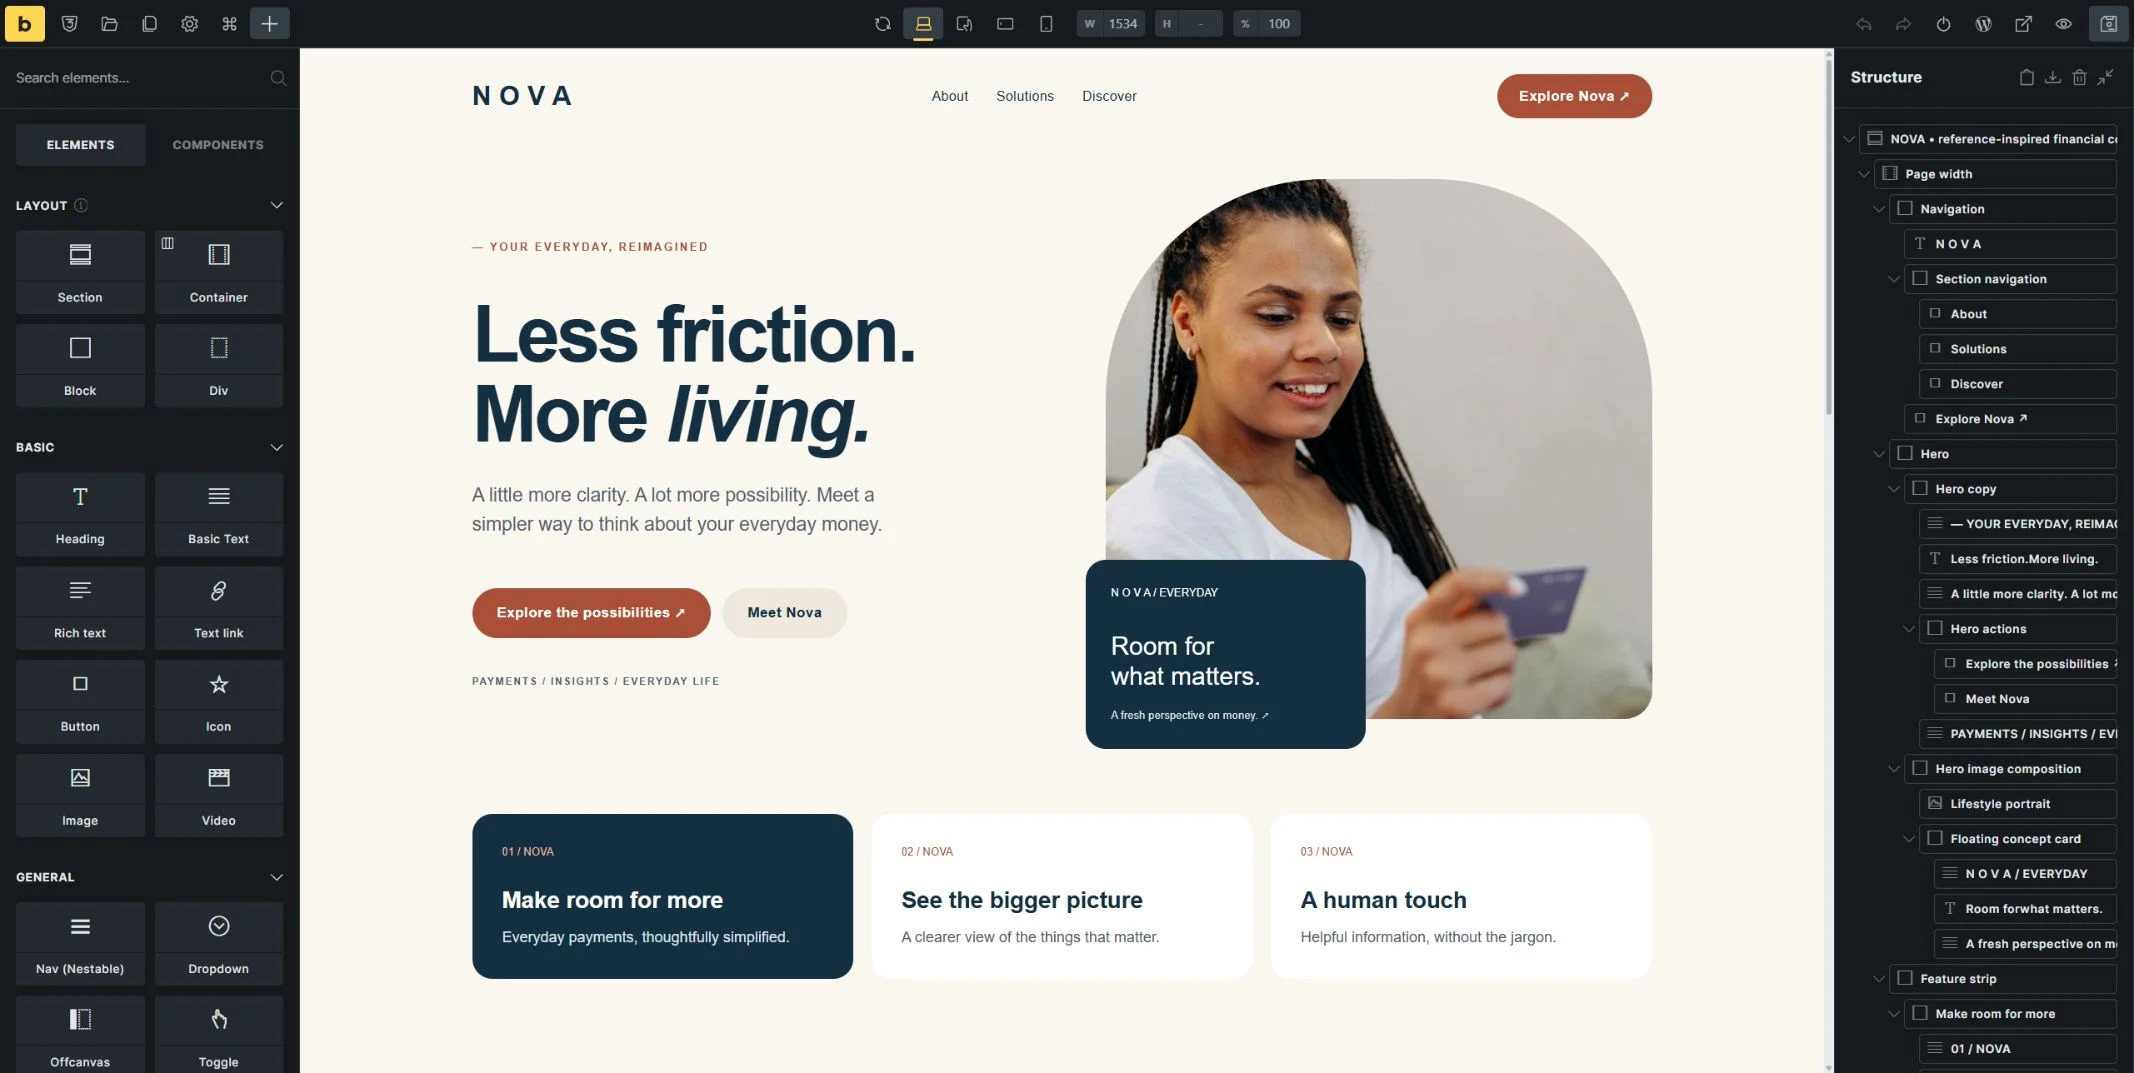
An AI-built page is more useful when you can open it in your usual builder and edit each part. In this walkthrough, we used EMCP Pro 3.18.0 with Bricks 2.4.1 to build Nova, a fictional financial-services landing page, from a visual reference. The finished draft contains 98 native Bricks elements.
We opened the result in Bricks, checked the frontend at desktop, tablet and mobile widths, and corrected the mobile photo crop. The headings, cards, buttons and images remain separate elements in the builder. No HTML or executable-code element was used.
This is a record of a real build, followed by prompts you can adapt. It is not a claim that one prompt produces a finished site without review.
What you need
- WordPress with the Bricks theme active and an appropriate Bricks license.
- EMCP Pro with the Bricks integration selected. This walkthrough used version 3.18.0, which extends the adapter’s supported range to Bricks 2.3.13 through 2.4.x; the actual build here used 2.4.1.
- An MCP-compatible AI client connected to the intended site.
- Permission to create and edit pages, plus the necessary Bricks write tools enabled.
- A staging site, approved copy and images you have permission to use.
Follow the EMCP installation guide and your client’s connection guide, such as Claude Code or Cursor. You can find the operation boundaries in the Bricks tool reference.
1. Select Bricks and refresh the connection
In WordPress, open EMCP Tools → Page Builders and select Bricks. This selects the standalone builder integration exposed to the agent. It does not convert Elementor pages into Bricks pages, and Gutenberg and enabled block packs can remain available.
Enable the writes needed for this exercise: Create Bricks Draft, Set Bricks Page Elements and Update Bricks Element. Add Element is useful for incremental additions. You do not need to enable every write operation for a first draft.
Reconnect your MCP client after changing the integration or tool switches. We had to refresh our connection before the newly enabled Bricks tools appeared. If discovery is still empty, check the installed versions, active theme, Pro activation and account permissions before trying another build.
2. Inspect the site before designing
Ask the agent to read bricks-get-context, discover the available elements, and inspect their runtime schemas. In our session, context confirmed Bricks 2.4.1 and can_write: true.
We inspected section, container, block, heading, basic-text, button and image controls. This matters because the agent should use the settings accepted by your installed builder, rather than copy Elementor settings or guess JSON keys.
Next, read bricks-get-design-system. Our fresh installation had no saved global classes, variables, palette or theme styles, so we styled the draft through native element controls. Existing-style reuse was not tested in this example. On an established site, inspect the available styles and reference supported existing class IDs where appropriate.
Confirm the target site and selected Bricks integration.Read the Bricks context, design system and relevant element schemas.Report whether writes are supported and which existing styles are available.Do not change global styles or existing pages.3. Turn the visual reference into a brief
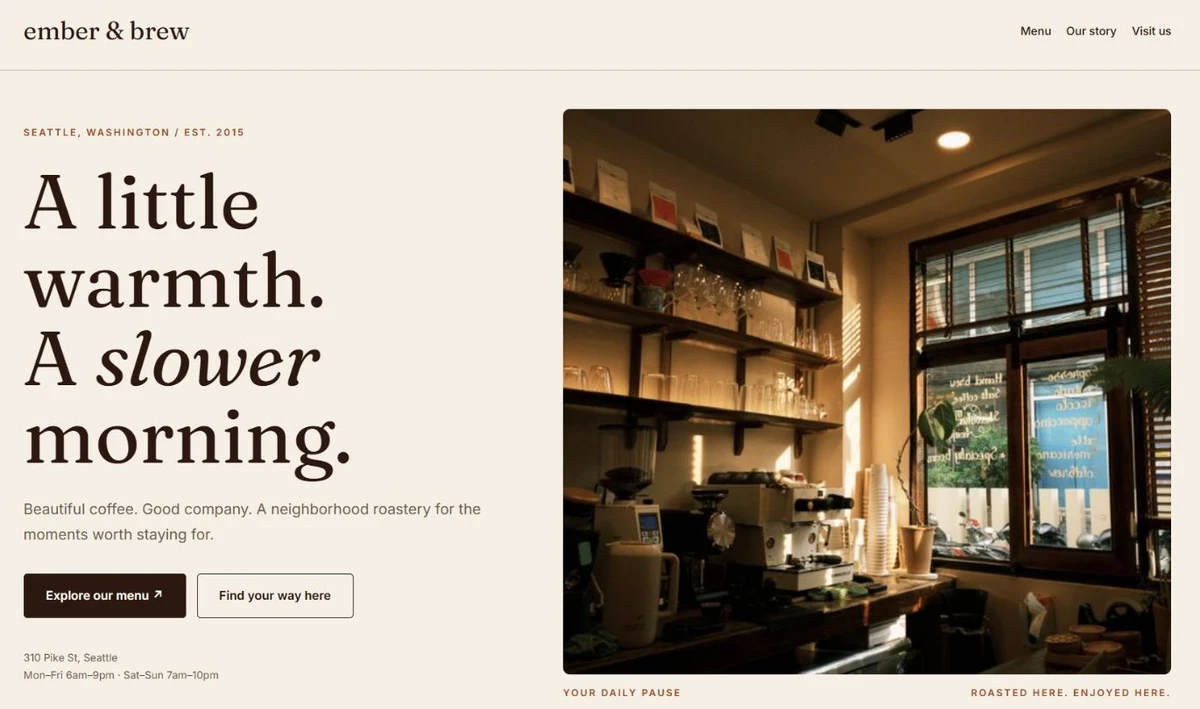
The supplied reference used a cream background, navy typography, terracotta buttons, large lifestyle photography and layered cards. We translated that direction into a new composition rather than embedding a screenshot as the page.
The final layout has navigation, a photo-led hero with a floating card, a three-card feature strip, an about section, six solution cards, a closing call to action and a footer. Here is a brief you can reuse with your own reference:
Create a new Bricks draft inspired by the attached visual reference.Use native Bricks elements for every heading, paragraph, image and button.
Build a fictional brand called Nova with:- A cream, navy and terracotta palette- Navigation linking to sections on this page- A hero with a large heading, lifestyle image and floating information card- Three feature cards- A photo-led about section- Six solution cards and a closing call to action
Inspect the installed schemas before writing settings.Use approved or appropriately licensed images with descriptive alt text.Do not invent customer counts, testimonials or financial guarantees.Label the brand as a design concept. Do not add a fake signup form.Keep global styles and existing pages unchanged. Leave the new page as a draft.Read back the saved page and open it in Bricks for review.
For a real business, replace the concept copy with approved services and claims. Supply the actual contact or signup destination before adding a conversion form. Our demo buttons use working section anchors, not a simulated payment or account-opening flow.
4. Create the draft and verify the native save
bricks-create-page creates an empty draft and returns its page ID and content hash. The agent can then use bricks-set-page-elements to populate that new draft with a validated element tree.
Set Page Elements replaces the whole element area. Use it deliberately when creating a new page; for a small change to an existing layout, prefer a targeted update.
Every mutation of an existing page requires its current content_hash as expected_hash. Read the page again before the next edit. If the hash is stale, inspect what changed rather than retrying an old replacement.
After saving Nova, we used bricks-get-page to read back all 98 elements and their parent-child relationships. The page listing confirmed that it was a Bricks draft. In the native editor, the Structure panel showed separate sections, headings, text, images and buttons.
The screenshot at the top of this article is the actual editor result. The page uses native controls for its typography, colors, layout, rounded corners and image crops.
5. Review mobile and request a precise revision
The first mobile review showed that the hero photograph was cropped too tightly. We adjusted the image position and used fluid height values so it could be shorter on a narrow screen. We also improved an accent label’s contrast on the navy closing section.
Use a focused follow-up instead of asking the agent to “make it better”:
Read the latest draft before editing.At mobile width, the hero photo crops the subject too tightly.Adjust that image's supported object-position and height controls.Preserve the copy, links, other elements and draft status.Read the page back, then inspect the mobile frontend again.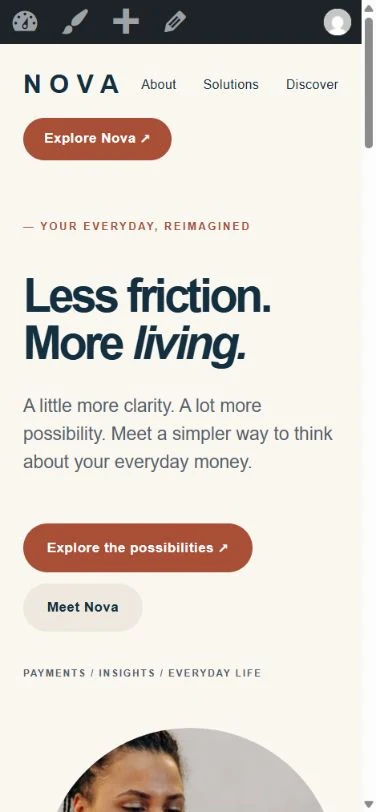
Actual mobile frontend preview. The WordPress toolbar appears because the test session was signed in.
A desktop screenshot cannot establish that a mobile page works. We checked the complete mobile layout as well as the hero, then verified the tablet layout. Native grids stacked the content as the available width decreased.
6. Check the result before publication
| Check | Result in this build |
|---|---|
| Saved structure | 98 native Bricks elements read back after the final save |
| Editor | Separate editable elements visible in the Bricks Structure panel |
| Images | Both uploaded photographs loaded and had descriptive alt text |
| Heading | One H1 on the frontend |
| Navigation | All section-link targets existed |
| Mobile | 390px viewport reviewed; no horizontal document overflow |
| Tablet | 820px viewport reviewed; no horizontal document overflow |
| Publication | Page remained a draft after the final revision |
The mobile and tablet document widths were slightly smaller than the viewport because of the scrollbar. We compared each document’s scroll width with its client width, rather than assuming the requested viewport width proved that content fitted.
Our checks are specific to this page and environment. They are not a full accessibility audit, performance benchmark or guarantee for every Bricks extension. The demo was deliberately left unpublished; publishing a reviewed page is a separate WordPress action.
What this workflow does not cover
The current EMCP adapter does not author component instances, executable code, global design settings, or new templates and their conditions. Reading existing styles is different from creating a global design system. Work requiring those features needs an appropriate native-editor workflow.
Bricks’ own AI capabilities are also separate from this EMCP adapter. This tutorial demonstrates the EMCP tools we ran, not a comparison of every available Bricks AI option.
The repeatable sequence is to inspect the actual site, create a bounded draft, read back the save, and review it in the native editor and frontend. A concrete revision then gives you a result you can assess and keep editing.
See the Bricks integration overview for scope, the builder compatibility guide for setup, and EMCP plans for Pro access.
Demo photography: Mikhail Nilov and Gustavo Fring on Pexels. Nova is a fictional financial brand used to demonstrate page building.